

Administrator Certification Maintenance (Spring '21)
→ Maintain Your Administrator Certification for Spring '21
Remember to create a new Trailhead Playground for the hands-on steps and challenges in this module.
Note:
Yes, we really mean a brand-new Trailhead playground! If you use an existing org or playground, you can run into problems completing the challenges.
For completing this challenge, please follow below steps:
Step: 1
Launch your Trailhead Playground by scrolling to the bottom of this page and clicking Launch. If you see a tab in your org labeled Install a Package, great. Follow the steps below.
- Click the Install a Package tab.
- Paste
04t4x000000lxVEinto the field. - Click Install.
- Select Install for Admins Only.
-
Add a check to the I acknowledge that I’m installing a Non-Salesforce Application checkbox, then click Install.
Note: Get the "This package can't be installed" error?- Click on the Astro icon in the upper right corner and select Settings.
- Click Language & Time Zone in the My Personal Information section.
- Adjust the Locale to English (United States).
- Click Save.
-
Return to the Playground Starter app and install the Managed Package.
- When your package is finished installing, you see a confirmation page and get an email to the address associated with your playground. Click Done.
Step: 2
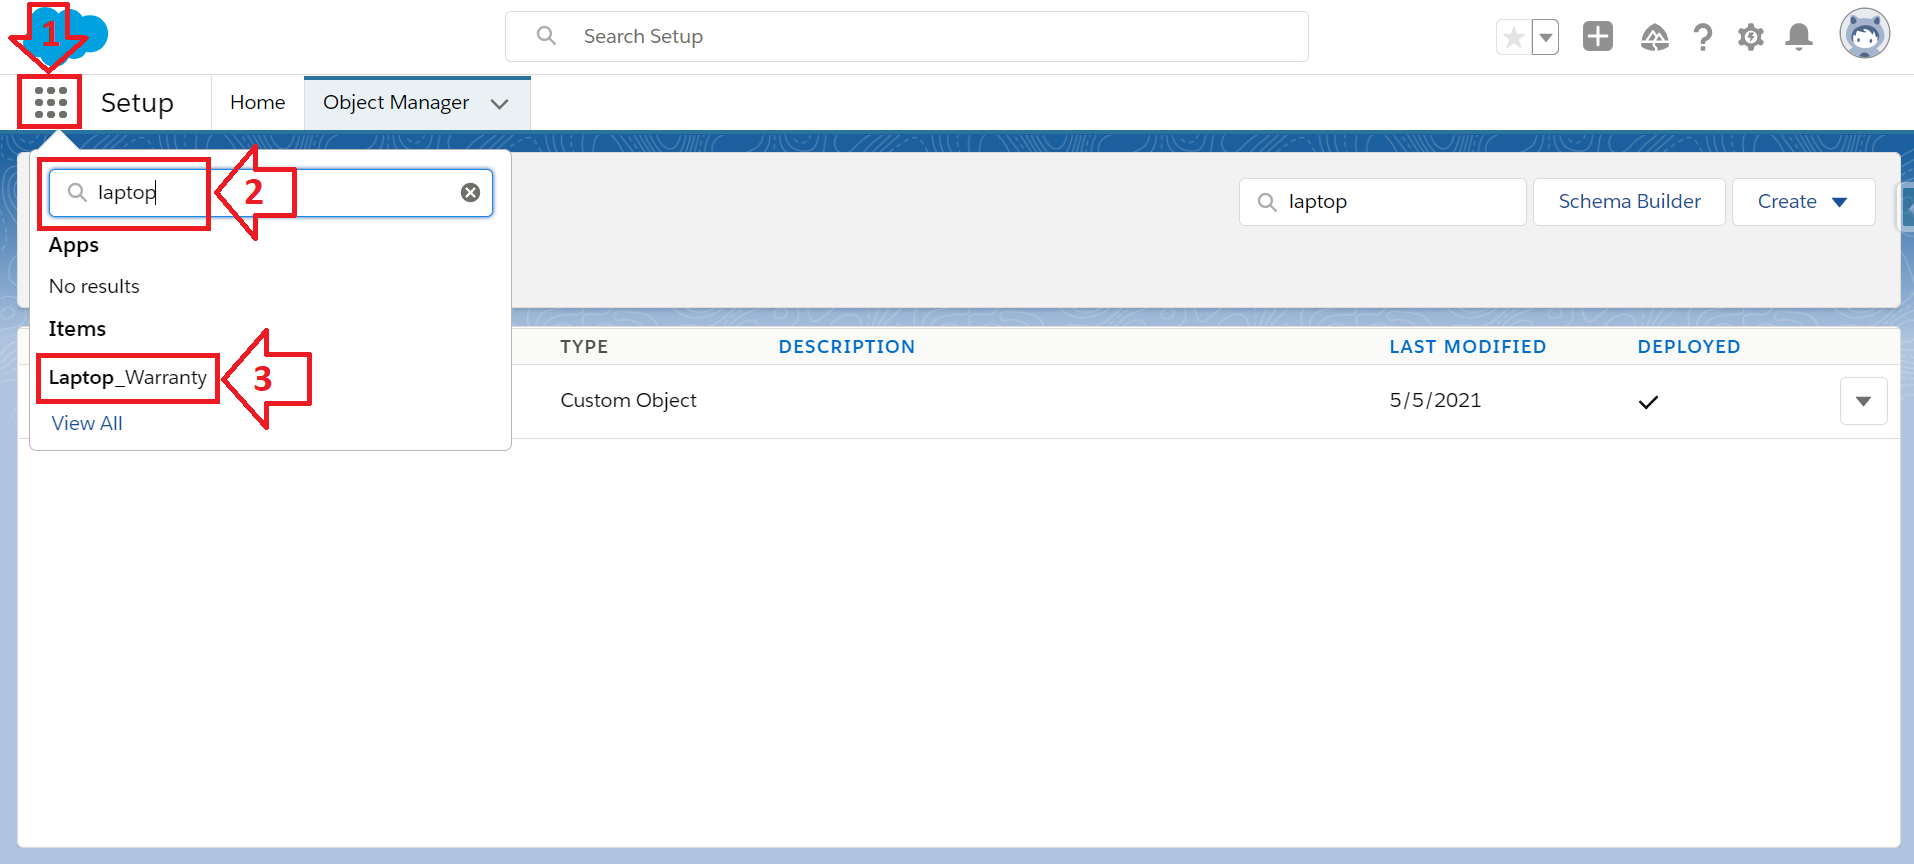
Search and select 'Laptop_Warranty' from the App Launcher.
Step: 3
Change the List View to 'All Records' and select the 'Keith Jones' record.

Step: 4
From the Keith Jones record, click 'Gear' icon and select 'Edit Page' option.

Step: 5
Click below Owner name in the canvas to select the 'Details' component and click 'Upgrade Now' in the Record Detail to upgrade to Dynamic Forms.

Step: 6
Click 'Next' button.

Step: 7
Select the radio button next to 'Laptop_Warranty Layout' and click 'Finish' button.

Step: 8
Drag and drop the 'Owner' field to first column.

Step: 9
With the Information section in the Details tab selected, change the format to '1 column'
Drag and drop 'Active Warranty' field to above the 'Support Level' field.

Step: 10
Select 'Support Level' field and click 'Add Filter' in the details panel on the right.

Step: 11
Click 'Advanced', Click Select under Field, Select 'Record' then 'Active Warranty' field,
- Ensure Operator has the 'Equal' value selected, Change the Value selected to 'True' and Click 'Done'.

Step: 12
Select 'Expiration Date' field and click 'Add Filter' in the details panel on the right.

Step: 13
Click Select under Field, Select 'Active Warranty' field,
- Ensure Operator has the 'Equal' value selected, Change the Value selected to 'True' and Click 'Done'.
And 'Save' button.

Step: 14
Click 'Activate' button.

Step: 15
Click 'Assign as Org Default' button.

Step: 16
Select 'Desktop and phone' radio button and click 'Next' button.

Step: 17
Click 'Save' button.

Step: 18
Last, click 'Save' button.
Click the back arrow to leave the Lightning App Builder.
